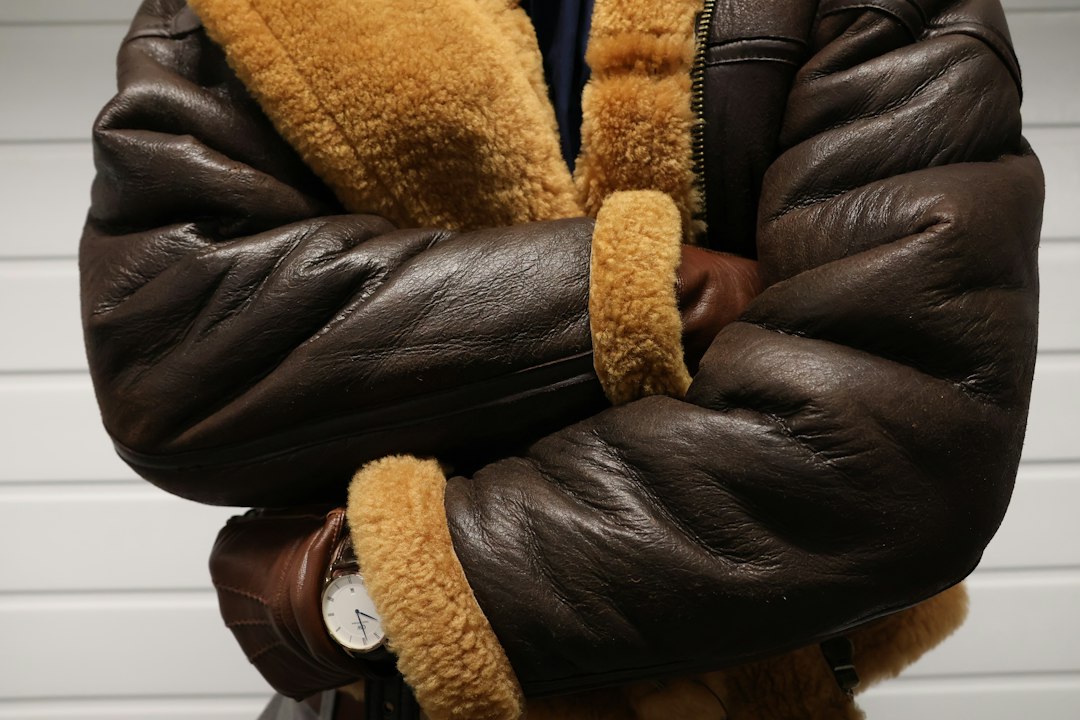
Introduction: The Anatomy of Leather Preservation
A premium leather jacket is rarely just a garment; it is an investment in wearable history, personal style, and enduring craftsmanship. Over decades of wear, wind, and weather, high-quality leather develops a rich, enviable patina. However, this organic material is ultimately subject to physical degradation. When damage inevitably occurs, knowing how to assess structural integrity leather jacket repair projects is the dividing line between saving a cherished heirloom and wasting money on a doomed garment.
Too often, owners mistake surface-level scuffs for terminal damage, or conversely, ignore microscopic thread rot that spells imminent catastrophe. Before applying oils, patches, or visiting a tailor, a comprehensive diagnostic evaluation is essential. This guide provides a masterclass-level blueprint for inspecting, diagnosing, and executing structural assessments on leather outerwear.
The Foundation of Diagnostics: The 4-Point Structural Audit
To properly assess structural integrity leather jacket repair needs, you must systematically evaluate the garment from its inner lining to its outer hide. A haphazard glance won't reveal the hidden rot, dry rot, or stress fractures that compromise the jacket's frame.
1. Seam Integrity and Thread Rot Analysis
The threads holding a leather jacket together are often its weakest link. Over time, exposure to moisture, body oils, and UV radiation degrades cotton or core-spun polyester stitching.
- Visual Check: Look for frayed, broken, or missing stitches along high-stress areas like the armscye (armhole), shoulder yoke, and back panels.
- The Tugging Test: Gently pull the seams apart in opposing directions. If the leather separates easily or you hear a subtle crunching sound of decaying thread, the seam has failed structurally and requires complete re-stitching.
2. Hide Suppleness vs. Dry Rot
Leather is skin, and without proper lipid replenishment, it desiccates. Dry rot is the ultimate death sentence for a leather jacket because the collagen fibers themselves have fractured beyond redemption.
- Pinch Test: Pinch a non-critical area of the leather, such as the lower inside hem. Healthy leather will rebound elastically. Dry-rotted leather will crease sharply, crack, or leave a fine powdery residue on your fingers.
- Flex Test: Bend the elbow joints sharply. If you see deep, fissured cracks running across the grain rather than fine, natural creasing, the hide's structural integrity is heavily compromised.
3. Lining and Interfacing Stability
The internal skeleton of a leather jacket—canvas interfacing, shoulder pads, and the inner lining—provides drape and structural support. A torn lining might seem purely aesthetic, but if the internal canvas has bunched up or disintegrated, the jacket will lose its tailored shape, placing unnatural stress directly onto the outer leather shell.
4. Stress Point Evaluation
Every movement puts pressure on specific zones: the elbows, the underarm gussets, the back shoulders (especially in biker or rider jackets), and the pocket welts. Inspect these zones under bright, direct light. Micro-tears often start as pinprick holes where the leather was over-tensioned during manufacturing or subsequent wear.
Diagnostic & Damage Repair: Categorizing the Severity
When you assess structural integrity leather jacket repair tasks, categorizing the severity of the damage dictates your next move. Not all damage requires the same level of intervention.
Minor Cosmetic vs. Major Structural Breakdown
Understanding the boundary between surface issues and structural flaws saves time and prevents ruined garments. A scratch that only affects the top-coat pigment can be fixed with leather prep and color-matching dye. However, a puncture that severs more than 30% of the hide's thickness in a high-tension zone requires backing reinforcement.
Evaluating Hardware Longevity
Hardware failure is a massive component of structural assessment. Zippers, snaps, buckles, and D-rings endure immense mechanical force.
- Zippers: Check if the teeth are misaligned or if the tape (the fabric holding the zipper to the leather) is fraying. Replacing zipper tape requires unpicking the leather edge, which can weaken the surrounding hide if done carelessly.
- Snaps and Rivets: If a snap pulls clean out of the leather, it leaves behind an enlarged, torn hole. You cannot simply hammer a new snap into torn leather; the underlying hide must be reinforced with a hidden leather backing patch first.
| Damage Type | Diagnostic Indicator | Repair Complexity | Recommended Action |
|---|---|---|---|
| Surface Scuff | Color loss, smooth texture, zero depth | Low (DIY) | Clean, condition, and apply matching leather dye cream. |
| Frayed Seams | Loose threads, slight gap, sound leather | Moderate (DIY or Tailor) | Back-stitch and reinforce with heavy-duty bonded nylon thread. |
| Torn Pocket Welt | Fabric pulling away, stretched leather edges | Moderate (Professional) | Unpick, insert internal reinforcement patch, and re-stitch. |
| Advanced Dry Rot | Powdery residue, deep fissuring, crumbling | Extreme (Non-viable) | Retire the garment; structural repair is impossible. |
Assessing Structural Integrity: When to Replace Hardware vs. Patch the Hide
A common dilemma during restoration is deciding whether to focus on the metal components or the organic hide. Let's break down the decision-making matrix for hardware replacement versus hide patching.
The Physics of Patching Hides
When a tear occurs in the body of the jacket, simply gluing the edges together will fail the moment you put the jacket on. Tension will instantly pop the adhesive bond.
- The Sub-Patch Method: True structural repair requires inserting a backing patch (sub-patch) made of thin, strong chrome-tanned leather or specialized repair fabric behind the tear. This patch is secured with leather-safe contact cement and then reinforced with meticulous zig-zag or straight-line machine stitching that mimics the surrounding grain.
When to Replace Hardware Entirely
Do not attempt to patch the leather around failing hardware if the metal itself is warped or worn out.
- If a YKK or Talon zipper slider is worn down, replace just the slider.
- If the zipper teeth are permanently broken or the tape is shredded, the entire zipper assembly must be excised and replaced. When working on thick leather like cowhide or horsehide, this requires industrial walking-foot sewing machines capable of penetrating dense materials without skipping stitches.
Step-by-Step Field Guide to Executing the Assessment
Follow this actionable protocol whenever you inspect a leather jacket for repair viability:
- Preparation and Cleaning: Wipe down the jacket with a damp microfiber cloth to remove dirt and dust. You cannot accurately assess structural integrity if grime obscures micro-cracks and thread fraying.
- Lighting and Magnification: Take the jacket to a well-lit area (natural daylight is best) and use a magnifying glass to inspect high-wear seams and stress points.
- The Tactile Sweep: Run your bare hands across every square inch of the jacket. Feel for stiff spots (indicating salt damage or extreme dryness), soft spots (indicating thinning leather), and lumpy areas (indicating internal bunching).
- Load Simulation: Put the jacket on and perform basic movements: cross your arms tightly, reach up high, and bend forward. Pay close attention to where you feel resistance or pulling. This reveals the exact vectors of stress your repairs must withstand.
- Cost-Benefit Calculation: Compare the cost of professional leather repair (which can range from $100 to $300+ for complex zipper and panel replacements) against the replacement value and emotional significance of the jacket.
Conclusion: Preserving Craftsmanship for Decades to Come
Learning how to assess structural integrity leather jacket repair needs transforms you from a passive consumer into an informed steward of quality goods. By systematically evaluating seams, hide suppleness, stress points, and hardware, you can make intelligent decisions that extend the life of your wardrobe sustainably. Whether you choose a simple DIY thread reinforcement or enlist a master leather artisan for a complex panel overhaul, a thoughtful diagnostic approach ensures your investment remains stylish, durable, and structurally sound for years to come.