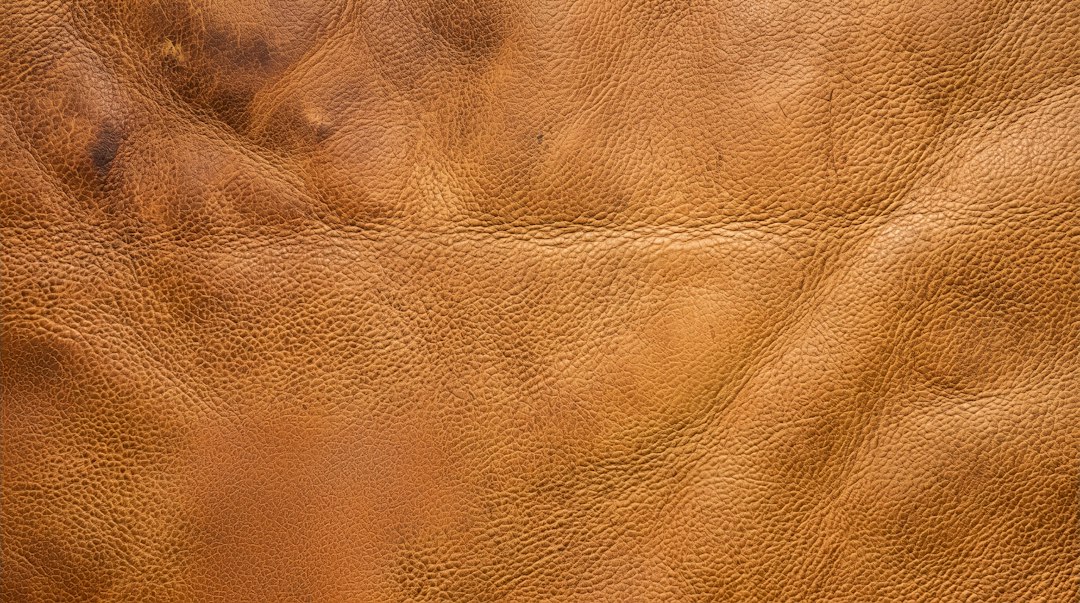
Few wardrobe items carry the rugged, timeless character of a well-worn leather jacket. However, when improper conditioning, rain exposure, or DIY dye jobs leave your prized garment looking patchy, streaked, and discolored, that hard-earned character quickly turns into an eyesore. A patchy finish can ruin the look of an otherwise premium piece.
Fixing an uneven patina and blotchy dye on a leather jacket requires a methodical, restorative approach. Whether your jacket fell victim to a heavy-handed conditioning session that blocked dye absorption or you made a mistake during a custom color refresh, this comprehensive guide will walk you through diagnosing the root cause and executing a professional-grade restoration.
Diagnostic & Damage Repair: Why Leather Becomes Blotchy
Before you reach for sandpaper or a bottle of black dye, you must understand why leather develops an uneven appearance. Leather is a natural, porous organic material that absorbs liquids, oils, and pigments at varying rates depending on its tannage, finish, and current condition.
When you notice dark splotches or pale, chalky patches, the issue typically falls into one of three categories:
- Uneven Conditioning: Applying heavy mink oil, neatsfoot oil, or commercial conditioners to dry leather without proper buffing causes the hide to saturate unevenly, creating dark, sticky patches where the pores are overloaded.
- Residue and Sealant Barriers: Factory finishes or old wax sealants prevent new dyes or conditioners from penetrating uniformly. When a dye is applied over an un-stripped seal, it pools in micro-cracks and slides off protected areas, resulting in a leopard-spot effect.
- Blotchy Dye Absorption: If you previously attempted a DIY re-dye, uneven stripping or rushing the application leads to heavy pigment accumulation in softer, more porous sections of the hide (like the collar or underarms) while stiffer areas reject the color entirely.
Pinpointing the exact cause allows you to select the correct intervention, saving your jacket from irreversible chemical damage.
Troubleshooting Uneven Patina and Blotchy Dye Absorption After Conditioning
One of the most common restoration challenges occurs when a routine conditioning session goes sideways. You applied a rich cream or oil to soften a stiff jacket, only to wake up and find dark, muddy patches that refuse to dry or blend.
Troubleshooting uneven patina and blotchy dye absorption after conditioning begins with evaluating whether the oil has simply settled or if it has oxidized within the fibers. If the blotchiness is fresh, vigorous buffing with a horsehair brush can generate friction heat, melting excess surface oils and redistributing them evenly across the grain.
However, if the oils have deeply penetrated and created permanent dark zones, buffing won't suffice. You must draw the excess oil out of the leather matrix. Cover the blotchy areas with a generous layer of cornstarch, fuller's earth, or baby powder. Allow the powder to sit undisturbed for 24 to 48 hours. The absorbent particles will draw out the trapped, excess lipids. Gently brush away the powder and assess the hide. Repeat this process until the base tone normalizes.
Step 1: Deep Cleaning and Deglazing the Hide
Once you have drawn out excess oils, you need to strip away surface grime, old waxes, and manufacturing finishes that block corrective treatments. This step is non-negotiable for achieving a uniform finish.
Prepare a mild cleaning solution using saddle soap or a specialized leather cleaner diluted with warm water. Using a soft-bristled horsehair brush, work the lather gently across the entire jacket in circular motions. Wipe away the dirty residue with a clean, damp microfiber cloth. Allow the jacket to dry completely away from direct heat or sunlight for at least 24 hours.
For stubborn blotchiness caused by old sealants or botched dye jobs, step up to a professional leather deglazer or isopropyl alcohol diluted 1:1 with distilled water. Apply a small amount to a clean cotton cloth and test it in a hidden interior spot. If the color doesn't bleed uncontrollably, wipe down the blotchy zones to strip away the top barrier. This opens the leather pores and creates a receptive canvas for corrective dyeing.
Step 2: Leveling the Base Color with Leather Prep
With the pores stripped and clean, inspect the jacket under bright, natural light. You will likely see that the underlying hide has varying shades of raw tan or faded brown. To fix the uneven patina, you must re-establish a uniform base color.
Choose between a water-based leather dye and an alcohol-based spirit dye. Spirit dyes penetrate deeply and offer permanent coloration, while water-based dyes are easier to control and build up gradually.
Pour your chosen dye into a glass or ceramic bowl. Instead of using a brush—which leaves heavy stroke marks—wrap a piece of soft wool or a high-density cosmetic sponge in a lint-free cotton cloth to create a dauber.
Application Technique for Seamless Blending:
- Dampen your dauber lightly with water (if using a water-based dye) or leave it dry (for spirit dye), then dip it into the pigment.
- Squeeze out excess dye on a scrap piece of paper or cloth until the dauber is evenly saturated without dripping.
- Apply the dye in light, circular motions, starting from the seams and working outward across the panels of the jacket.
- Blend the edges immediately with a clean, damp cloth to prevent hard lines from forming between dark and light zones.
Step 3: Layering and Correcting Patchy Zones
A single coat of dye will rarely fix a severely blotchy jacket. Patience is your greatest asset during this phase.
Allow the first coat of dye to dry for 3 to 4 hours. Inspect the jacket. You will likely notice that the previously pale areas have absorbed more pigment and darkened, while the stubborn dark spots remain visible. This is normal.
To bridge the color gap:
- Apply a second very thin coat of dye only to the areas that remain lighter than the surrounding hide.
- For areas that are entirely too dark, you can carefully feather a diluted solution of leather deglazer over the spot to lift excess pigment, then re-dye the entire panel for a uniform gradient.
- Use a fine-detail sponge to feather color into creases, collars, and cuffs where wear patterns are most pronounced.
Step 4: Conditioning and Sealing the Restored Finish
Stripping and dyeing strip the natural moisture out of leather, leaving it vulnerable to cracking. Once your dye is completely dry (wait a full 24 hours), you must restore the hide's moisture balance.
Apply a premium, lightweight leather conditioner or mink oil sparingly using a microfiber cloth. Buff the conditioner in circular motions. The conditioner will deepen the overall tone slightly, helping to melt the dye boundaries together and create a rich, cohesive patina.
Finally, lock in your hard work. Apply a spray-on or wipe-on leather acrylic finisher or satin topcoat. This creates a protective barrier against moisture, friction, and UV fading, ensuring your newly fixed jacket maintains its flawless, uniform finish for years to come.
| Restoration Method | Best Used For | Skill Level | Drying Time | Risk Level |
|---|---|---|---|---|
| Powder Extraction (Cornstarch) | Fresh conditioning oil spots and grease stains | Beginner | 24 - 48 Hours | Zero (Safe for all leathers) |
| Deglazing & Stripping | Waxy buildup, factory sealants, failed DIY dyes | Intermediate | 2 - 4 Hours | Moderate (Can dry out hide) |
| Spirit/Water-Based Re-Dyeing | Faded areas, severe color blotchiness, uneven patina | Advanced | 24 Hours | High (Permanent color change) |
| Conditioning & Buffing | Minor surface streaks, dry grain, light scuffs | Beginner | 12 Hours | Low |