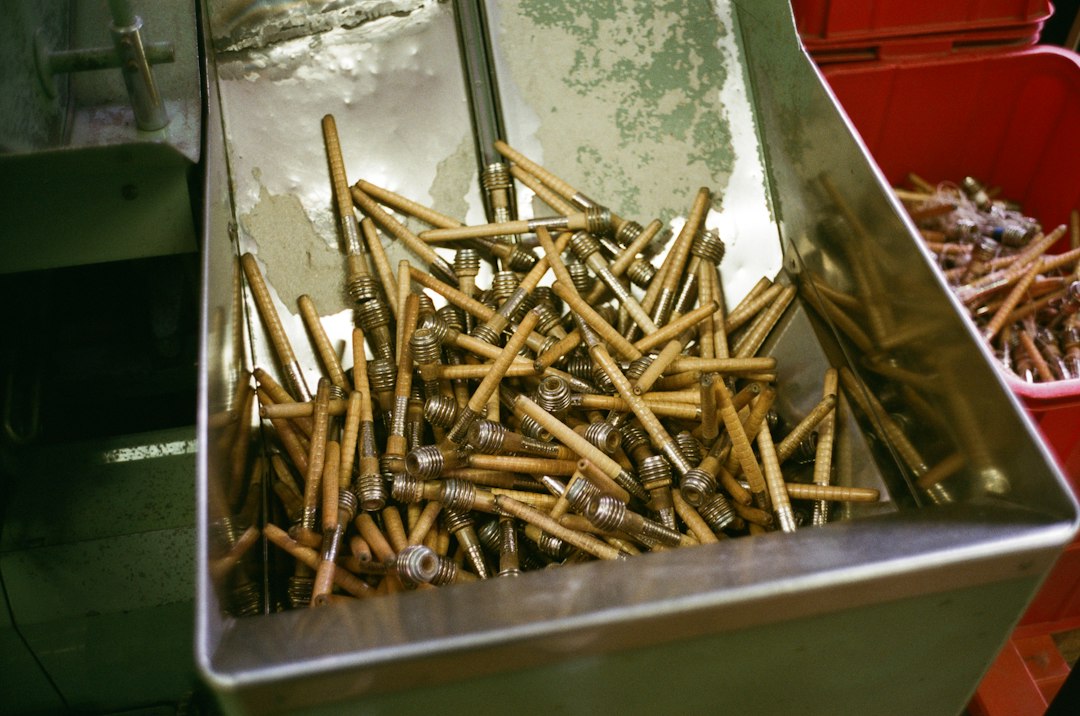
The Nature of the Beast: Why Brass and Copper Oxidize
To master the art of preservation, one must first understand the enemy. Brass (an alloy of copper and zinc) and pure copper are highly reactive metals. When exposed to oxygen and moisture, they undergo a process known as oxidation. This results in the formation of a patina—a dull, dark, or greenish layer that, while aesthetically pleasing to some, can degrade the structural integrity and luster of your hardware.
For craftsmen, leatherworkers, and DIY enthusiasts, rivets are often the "make or break" detail of a project. When these components begin to tarnish, the perceived quality of the entire piece drops. Preventing hardware oxidation is not just about aesthetics; it is about maintaining the professional standard of your craftsmanship.
Preparation: The Foundation of Protection
Before applying any sealant, you must ensure the rivet surface is pristine. Oxidation often hides under microscopic layers of oil, skin salts, or industrial lubricants from the manufacturing process.
Step-by-Step Degreasing
- Mild Solvent Bath: Use high-purity isopropyl alcohol (90% or higher) or a dedicated degreaser. Avoid harsh industrial acids unless you are intentionally stripping an existing patina.
- Mechanical Cleaning: Use a soft-bristled toothbrush to reach the crevices where the rivet head meets the substrate (leather, wood, or fabric).
- The Fingerprint Rule: Once cleaned, do not touch the hardware with bare skin. Natural oils from your fingertips contain acids that can begin the oxidation process before you even apply your sealant. Wear nitrile gloves during the application phase.
Method 1: Microcrystalline Waxing (The Preservation Standard)
Microcrystalline wax is the gold standard for museum conservators. Unlike traditional beeswax or carnauba wax, it does not yellow with age and is chemically neutral.
Why Choose Wax?
Wax is a breathable, "living" finish. It provides an excellent moisture barrier while allowing the metal to breathe. It is particularly effective for rivets on high-use items like belts, bag handles, or watch straps because the finish is easily renewable.
Application Technique
Apply a pea-sized amount of wax to a lint-free microfiber cloth. Work the wax into the rivet head using circular motions. Allow it to haze over for 5-10 minutes, then buff lightly with a clean cloth. The result is a soft, warm luster that resists fingerprints and repels water.
Method 2: Industrial Clear Coats (The Permanent Barrier)
If you require a "set-it-and-forget-it" approach—common in furniture making or architectural hardware—polymer-based clear coats are superior to waxes.
Selecting the Right Medium
- Lacquer: Traditional jewelry lacquers (like Incralac) are specifically formulated for copper and brass. They prevent tarnishing without creating a thick, plastic-looking layer.
- Enamel Sprays: Use sparingly. These can look "cheap" if applied too heavily, but they offer the strongest protection against environmental corrosion.
Comparison: Wax vs. Lacquer
The choice between these two methods depends entirely on the end-use of your hardware.
| Feature | Microcrystalline Wax | Industrial Lacquer |
|---|---|---|
| Durability | Moderate (Requires Reapplication) | High (Long-lasting) |
| Appearance | Natural, Soft Luster | High Gloss or Satin |
| Ease of Removal | Simple (Solvent) | Difficult (Requires Strippers) |
| Application | Hand-rubbed | Spray or Brush |
| Best For | Everyday carry, leather goods | Architectural/Static hardware |
The Role of Environment and Maintenance
No sealant is entirely bulletproof. If your rivets are subjected to extreme humidity, salt spray, or constant friction, they will eventually require maintenance.
Long-Term Care Tips
- Avoid Ammonia: Never use household cleaners containing ammonia or bleach on brass/copper rivets. These chemicals strip protective layers and accelerate future corrosion.
- Micro-Climate Control: If you are storing items with brass hardware, use silica gel packets. These absorb ambient moisture, preventing the oxidation trigger before it starts.
- The Friction Test: If you notice the shine starting to fade, it is time for a "refresh" coat of wax. You do not need to strip the old layer; simply clean the surface and reapply.
Troubleshooting Common Oxidation Issues
If you find your rivets turning green despite your best efforts, you are likely dealing with verdigris. This occurs when the metal reacts with acidic materials (like vegetable-tanned leather that wasn't properly neutralized). In this case, simply sealing the top will not work. You must neutralize the acid at the source, polish the rivet back to raw metal, and then apply your chosen sealant.